
Setups
Each defined by sample charts of its bull, bear, failed bull and failed bear cases.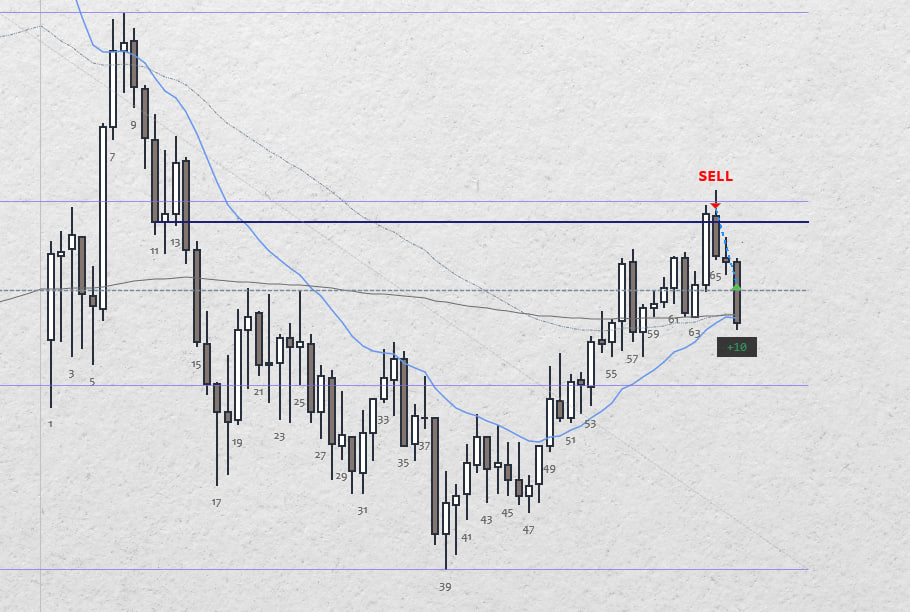 BO Fade
Fading strong BO bars expecting bad FT (as per previous evidence).
Has to be after an extended move either in
1) a trend day that's losing momentum
2) into top or bottom 3rd of TR/TRD after multiple legs
1 trade on 1 day
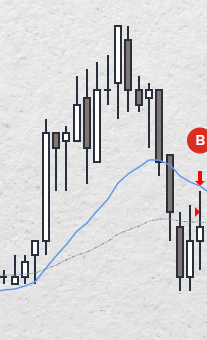 BO Leg1 PB
Fading CT bars during the first strong leg of a new breakout. For example, sell bull bar after a strong CC bear breakout that's probably just the first leg.
2 trades on 2 days
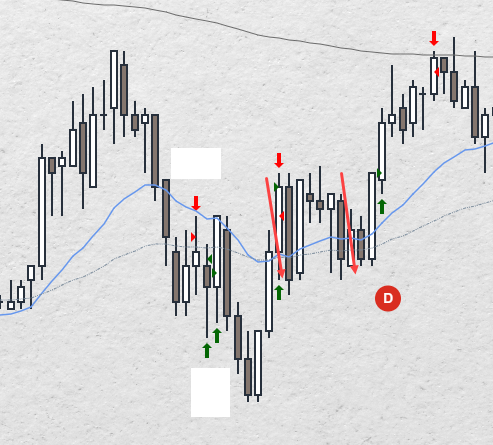 BO PB in TR
After a breakout in TR (often into the middle) wait for a support or resistance level to reveal itself (often two or more pushes into EMA) before entering in the direction of the breakout.
2 trades on 2 days
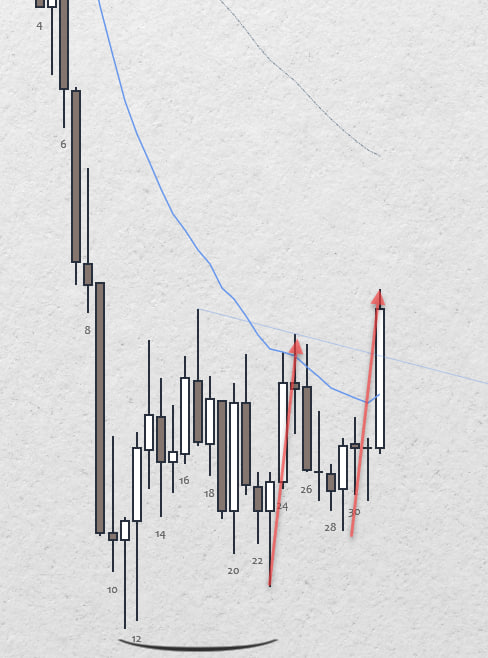 DB HL/DT LH
It looks like a PB but bears pushed twice into almost the same level. Al Brooks says when the market fails to do something twice it will try the other way (often for at least 2 legs also) which means the next bear push is more likely to fail and bulls get their 2nd leg attempt which means it's often lucrative to buy the first bear leg after good looking DBs.
2 trades on 1 day
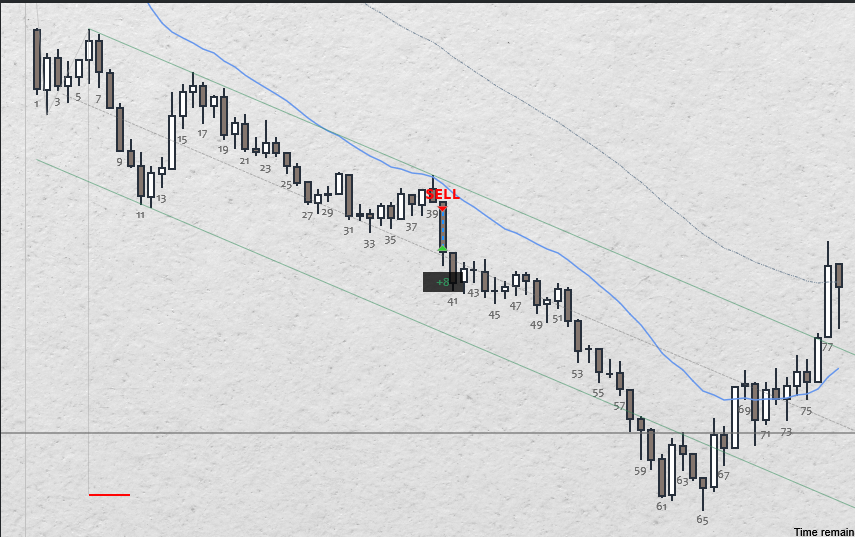 H2/L2 PB EMA TREND
H2/L2 pullback to EMA in strong trend
1 trade on 1 day
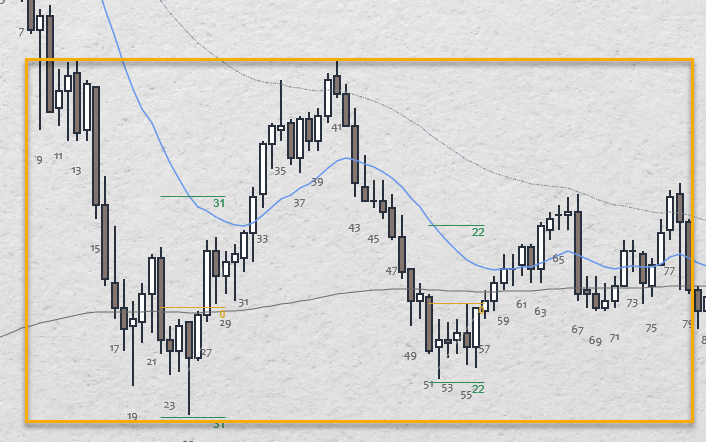 H2/L2 TR
Buy H2 (DB) at lows of TR. Sell L2 (DT) at high of TR.
3 trades on 2 days
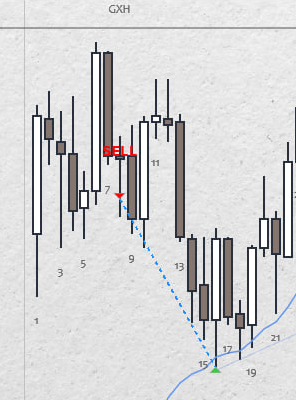 Opening Reversal
Specifically a pattern on the open after a gap, such as DT/DB or Wedge, that reverses to test the EMA.
1 trade on 1 day
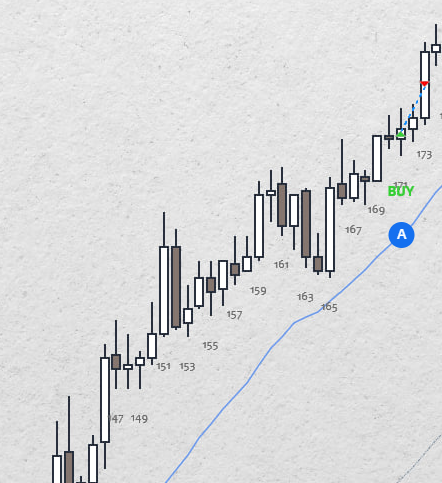 SP fade CT
Fade strong countertrend bars in SPBL or SPBR.
Avoid when there was a horizontal flag that lead to a DT or DB which often results in a deep 2 legs PB to EMA.
1 trade on 1 day
 TR Lmt
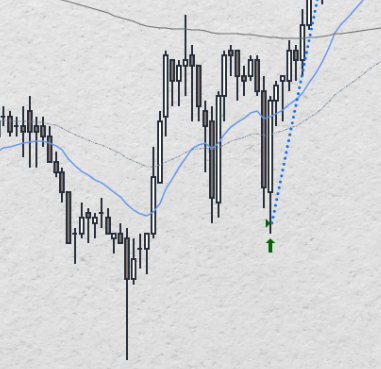
Lmt buying below prior swing lows in TR during 2nd or 3rd leg down. Vice versa for selling above.
Preferably in the lower 3rd for buying and upper 3rd for selling.
1 trade on 1 day